Overview
- What the problem is: images (technically!) inappropriate for web
- Image size: pixels and inches and dots-per-inch oh my!
- Pixels and Resolution - can't create detail not already there
- Strategies for fixing your images - Gimp and Paint Shop Pro
- Conclusions
Introduction - The Problem
- Images embedded in web pages with
<img
      src="...">
tag, e.g.
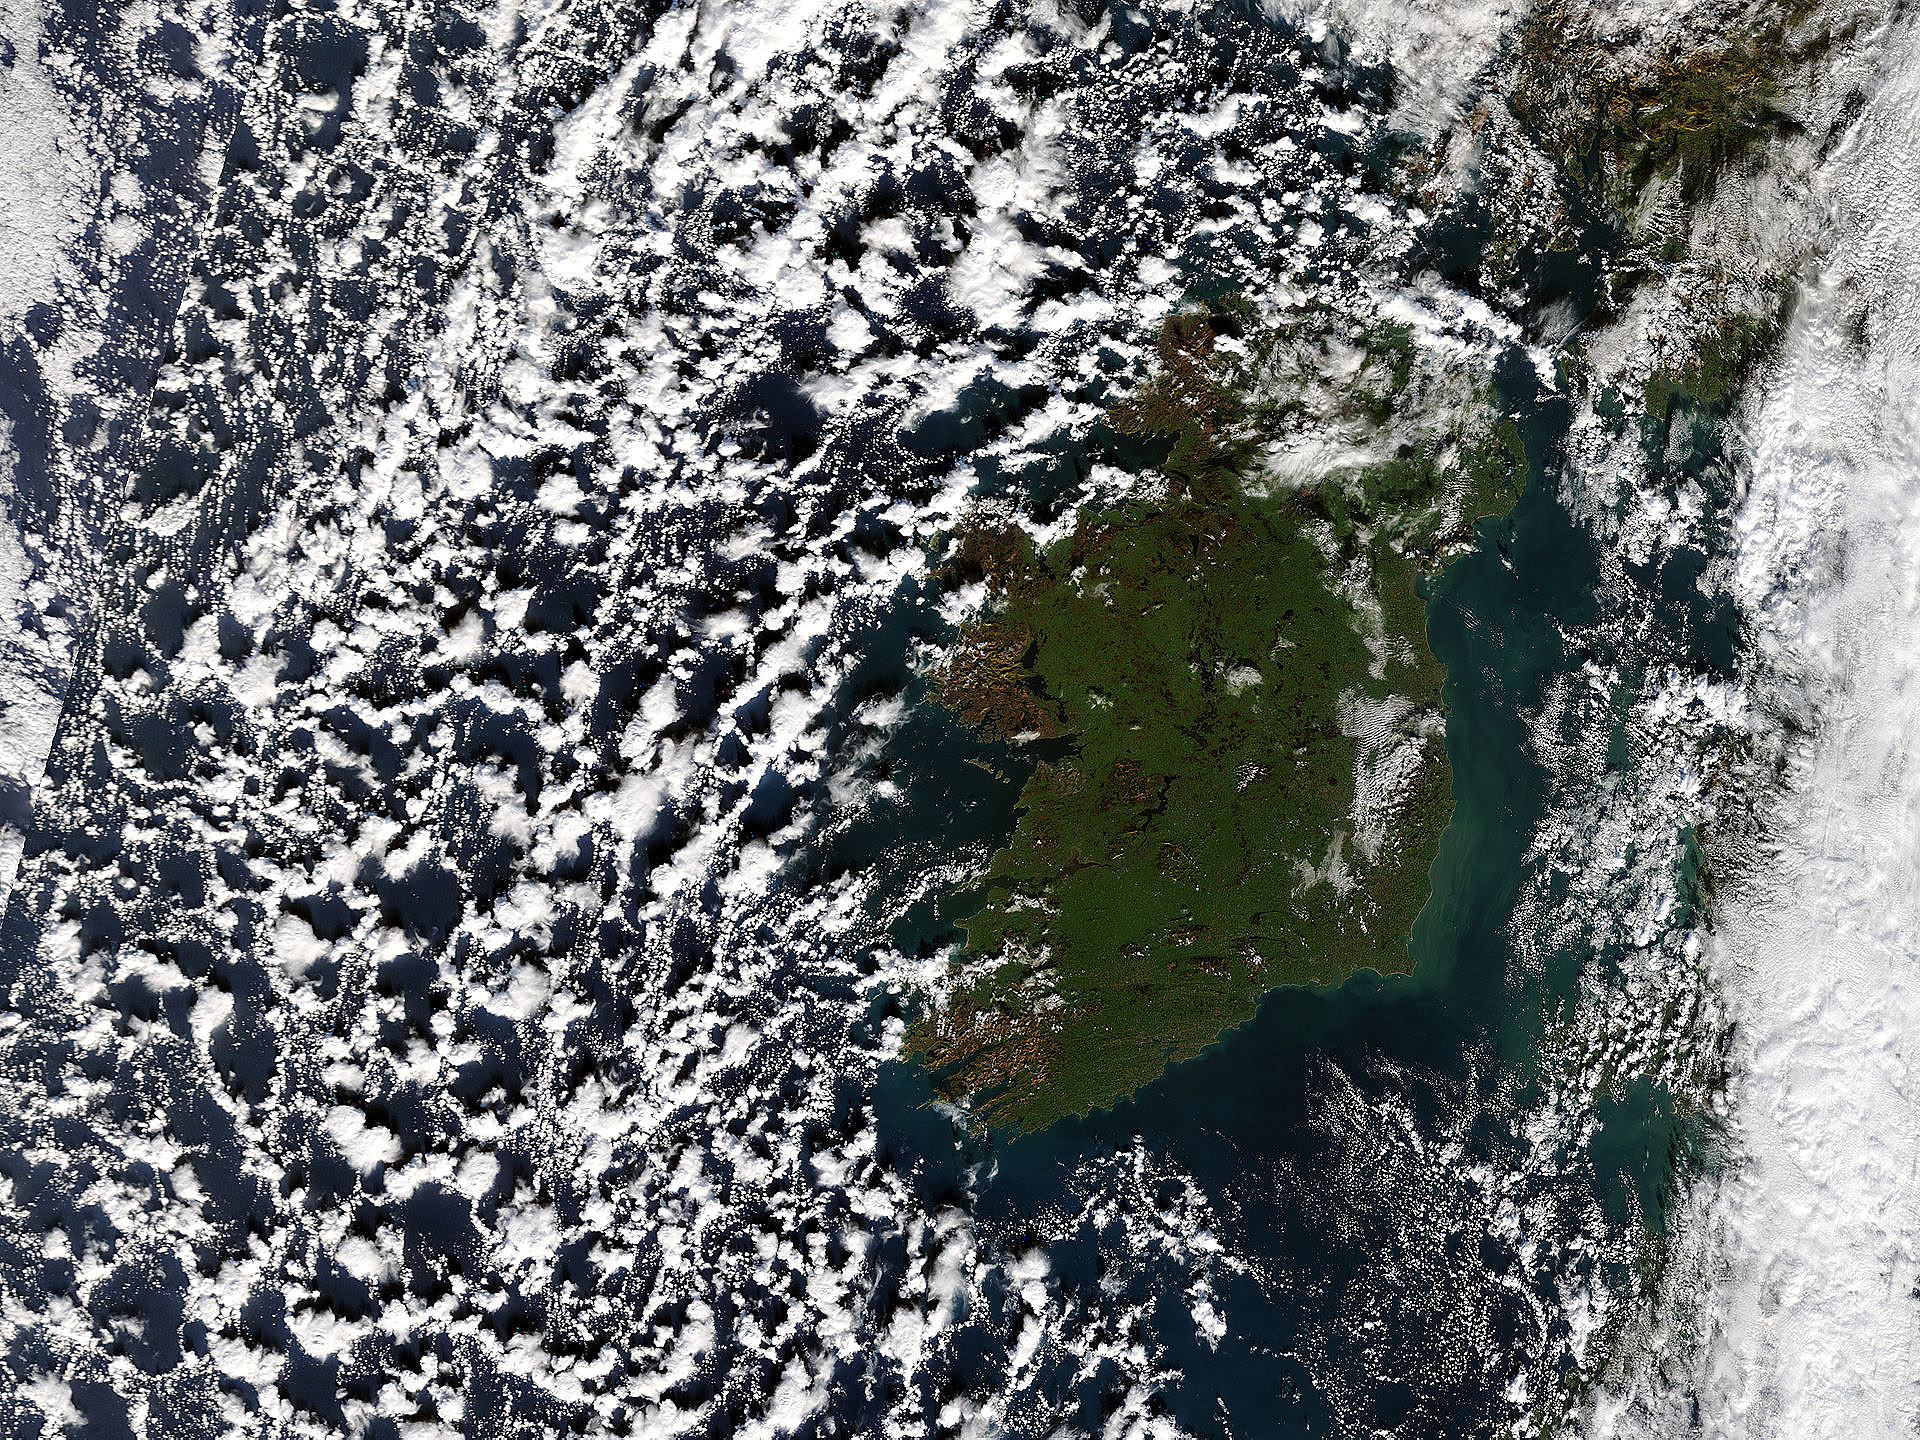
<img src="ireland_20050205.jpg" width="192" height="144">
- What's wrong with this? Image is MUCH BIGGER
(1920 x 1440 pixels, 1.5 megabytes) in reality (right click, view
image to see).
- What happens then? Huge image is sent over the
wire! Poor modem users!
- Image resizing ends up being done by the
browser (often badly).
- Should be done by the web page Author
beforehand!
Size Matters!
- How to measure an image size?
- PIXELS are the fundamental unit, not inches or
cm!
- The more pixels in an image, the larger (in Megabytes) the file
size
- Bigger images take longer to load in a web page.
- Compression can help, but is "lossy" (you lose
detail) [[Gimp demo]]
Pixels and Resolution
- Size in inches depends on dots per inch and
pixel size (think: a pixel = a dot)
- 1000 x 1000 image at 100 dots per inch is 10" x 10"
- SAME 1000 x 1000 image at 500 dots per inch is 2"
x 2"!
- Tweaking dots per inch does not change the actual
image pixels on disk.
- Programs like photoshop tend to hide this reality from
you.
- You can't increase the inherent resolution of an
image (i.e., its pixel size).
- Making it bigger just replicates pixels, no improvement in
resolution (it won't look better).
Fixing Images
- Make a Smaller Image: use The GIMP (free) or Paint Shop Pro ($$)
or Photoshop ($$$)
- Right Click, choose Image, then Scale
Image in the Gimp (see right); set
New Width (height then automatic)
- Then Right Click, choose File, and Save
As... to a different filename; use JPEG or PNG
format for web images
- Reference this image instead in your web page!
- See next page for how to do this in Paint Shop Pro...
Fixing Images
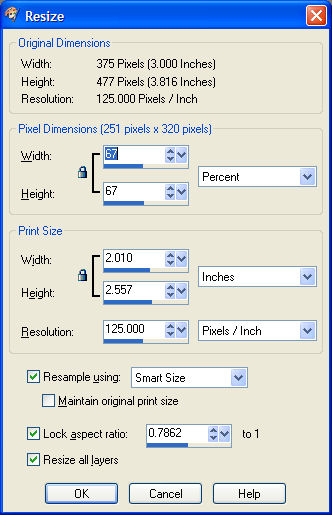
- Make a Smaller Image: using Paint Shop Pro
- Load your image into the program
- From top menu, choose Image, then Resize
Image to get dialog box (see right)
- Set Pixel Dimensions to Pixels, not Percent, to
see actual size of image
- Then pull down the File menu, and Save
As... to a different filename; use JPEG or PNG
format for web images
- Reference this image instead in your web page!
- See previous page for how to do this in the GIMP...
Conclusions
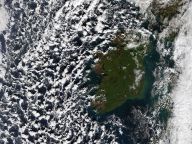
- The result loads a lot faster!
<img src="ireland_20050205_small.jpg"
      width="192"
      height="144">
Result: a 11 Kbyte image instead of a 1.5 Mbyte one, 135 times
smaller! Also smoothing makes it look better.
- Best Practice: make
width= and
height= numbers exactly
match pixel size of the embedded image (web pages with all
embedded images specified thus load a lot faster in most
browsers).
- More advanced topics:
- Learn how to use the Crop tools
- JPEG Compression: useful "quality" range is 40-80%
(0.4-0.8); use GIMP preview-in-image-window to avoid too
much image degradation
- JPEG Smoothing: 0.10 is fine
- JPEG Progressive scan makes faster loading images
(Image from
Modis, courtesy of NASA)
Pat Murphy and Carolyn White